 Aloud In The Cloud
How To Serve Website Images From Google Cloud
With Google’s powerful CDN, serving your images from Google Cloud storage will make your site run much faster. Google will cache your images and deliver them to your users using their nearest available servers.
In this guide, we’ll go through creating a cloud bucket, setting appropriate permission and uploading our images to the storage bucket for them to be served.
How To Serve Website Images From Google Cloud In 3 Steps
- Create Google Cloud Storage Bucket
- Set Storage Bucket Permission
- Upload Images To Storage Bucket
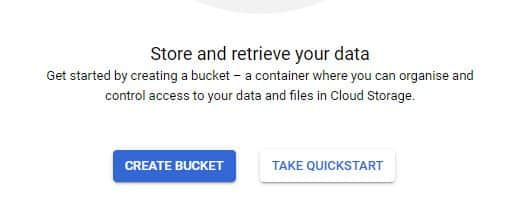
1. Create Google Cloud Storage Bucket
After signing up for Google Cloud, the next thing to do is to create a storage bucket.
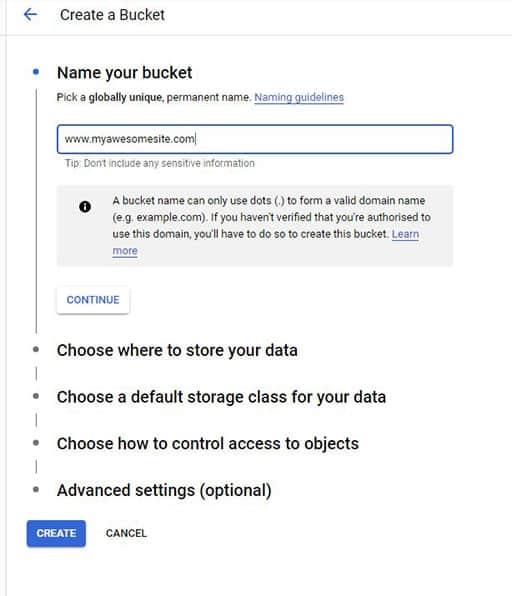
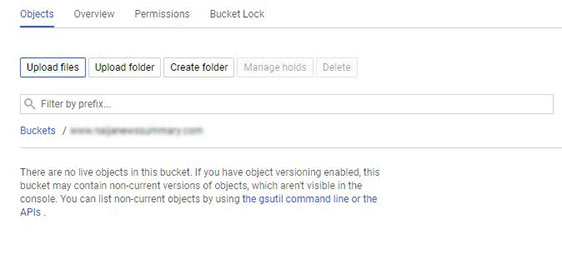
Step 1: Once you are done with sign up, we can now create our storage bucket. Where we will store our website files! On the left menu, scroll down to STORAGE section, click Storage -> Browser. Note: If you can’t see the left menu, click on the hamburger icon(the 3 horizontal icon) on the top left corner.
Step 2: Give the bucket a name you want to use. Note that this name must be globally unique. You cannot change it later.
Under ‘Choose where to store your data‘ select Region.
Under ‘Choose a default storage class for your data‘, select Standard.
Under ‘Choose how to control access to objects‘, select Uniform.
Leave the rest of the settings at their default. Click CREATE
2. Set Storage Bucket Permission
In order to serve the images from the bucket publicly (i.e. via the internet), we need to assign the appropriate permission to the bucket we created above. The permission will allow all images in the bucket to be accessible via the internet. Allowing us to serve the images.
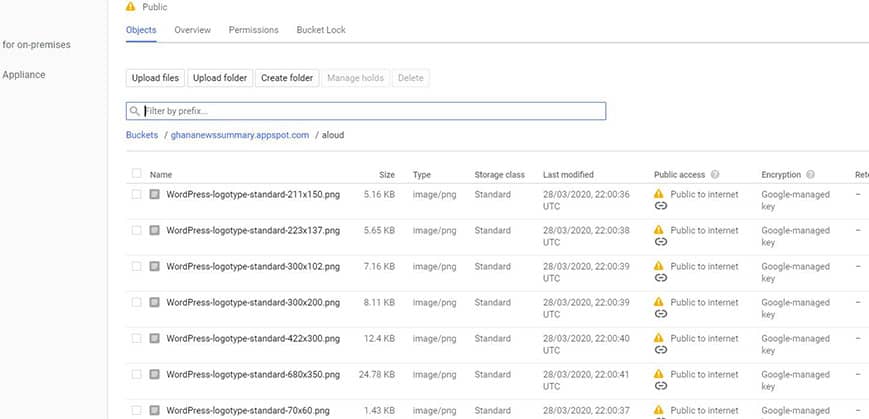
Step 1: Go to the STORAGE section of the left menu, select Storage -> Browser. Your bucket will be listed on the right. You will see 3 vertical dots at the far right.

Step 2: Click the 3 vertical dots against the bucket name. Click Edit bucket permissions, then click ADD MEMBER button.
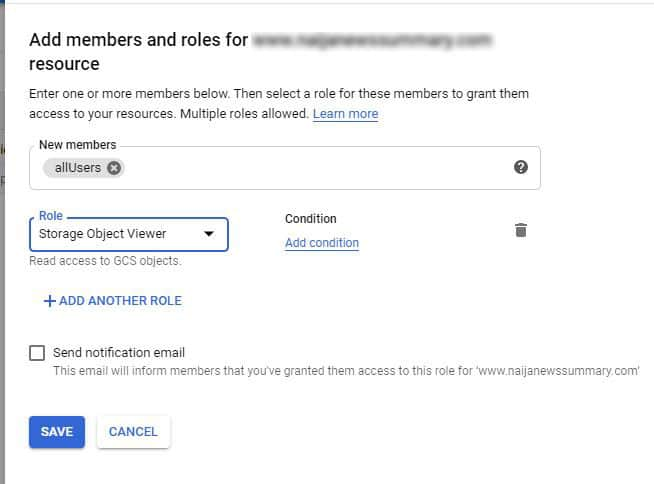
In the New members field, enter allUsers. In the Role dropdown fields, Select Storage -> Storage Object Viewer. Click Save.
Confirm the pop up to allow public access. Notice the value under ‘Public Access‘ now says ‘Public‘. Now all files placed in this bucket will be publically accessible.
3. Upload Images To Storage Bucket
We will upload the images we want to server from the storage bucket.
Step 1: Go to the STORAGE section of the left menu, select Storage -> Browser. Your bucket will be listed on the right. Click your bucket name to have it opened. Note that you can decide to create folders here and upload the images into that folder or you can upload directly into the root of the bucket.
Step 2: Click Upload files. Browse to your computer and select the images you want to upload
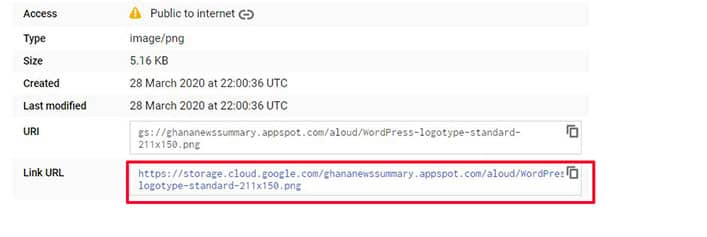
Step 3: The URL of each uploaded image is of the format: https://storage.cloud.google.com/name-of-bucket/uploaded-filename
So a full image URL will be: https://storage.cloud.google.com/my-unique-bucket-name/WordPress-logotype-standard-211x150.png
You can also click an individual uploaded image to retrieve the full public URL
See also:
Comments
comments powered by Disqus