 Aloud In The Cloud
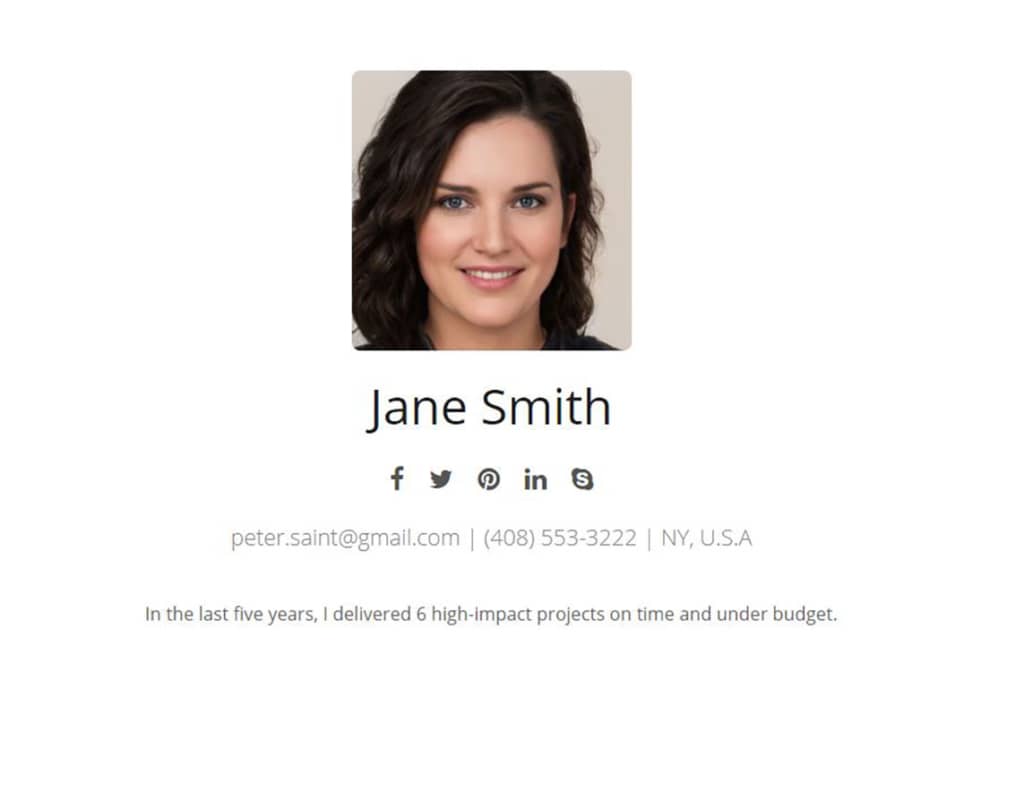
How To Make Your Resume Stand Out In 2023 And Get Found On Google Search.
As a job seeker in these interesting times (or an employee for that matter), you have a lot of competition and an uphill battle to get your resume noticed in a sea of million other resumes.
Just google “What’s The Best Way To Get My Resume Noticed” and you’ll realize millions of people are asking this same question.
People are looking to make an impression with their resume.
You’ve probably done what everyone else is doing: you created a profile on linkedin, you neatly formatted your resume in PDF or Word document, you strategically placed important key terms all over the resume and uploaded it to various online job sites. Just like everyone else.
You probably even hired a professional to review your resume. But still no luck. No calls.
Well, you’re just one in a million(if not billions). Taking the above steps do not distinguish you at all because everyone is doing the same things.
If you look at the above search result for ‘what is the best way to get my resume noticed‘, none of them suggested hosting the resume under your own name online!
How many of your friends or colleagues have their resume at www.theirname.com? Probably none, because they think it requires technical knowledge or it’s expensive. It is not!
You DON’T need any professional resume/CV service, all you need is to register your preferred name! That’s it, and you are good to go!
Look at this popular article that lists 10 places to post your resume. It doesn’t suggest you do it under your own name! Everyone just assumes it is hard.
This short guide will show you how to place your resume/CV under your own name online(eg. www.janesmith.com) and help you stand out from the crowd.
Get Noticed! Get hired! Get poached! Get found by that client/employer/recruiter.
Instead of sending or attaching your resume as PDF or a Word document, or even a Linkedin page (where there are millions just like you), when you apply for a job, you can now point prospective employers or clients to your OWN name online and have your dynamic resume display in its full glory.
Presentation is important! Stand out. Be different. Build a professional authority!!
You need what I call a LIVING frontpage resume! Make it easy for your next clients or next employer or next recruiters to find you.
All you need is to register and OWN your name as a domain and get a place to keep your resume document. That’s it! It becomes yours forever.
Registering your own name and hosting your resume will not be more than $4 per month. This is a small investment for a MASSIVE return! Think about it.
See yourself as a project. A project to invest in.
Let recruiters/prospective employers know your are willing to invest in yourself.
How To Make Your Resume Stand Out In 2020 And Get Found On Google In 4 Steps
- Register and own your name/your domain name (eg. www.janesmith.com)
- Install resume theme for FREE
- Update/Populate resume
- Connect resume to Google Search console(Optional)
1. Register and own your name(i.e. your domain name)]
In order to place your resume under your own name(e.g. www.janesmith.com) online, you will need to register your name with a domain registrar and also get a small space to store the resume.
There are several domain registrars available but the one we recommend is BLUEHOST. They offer an easy setup process and also gives you a lot of discount(eg. FREE website security via SSL/HTTPS, FREE name registration etc). Bluehost also gives you a custom professional email address (e.g. me\@yourname.com). Cool!
NOTE: Since this is a resume, we recommend you register your name for this but this is not a requirement. You can use a nickname or any other name you prefer.

Disclaimer: We give a lot of tech tips on this website and in order to pay for server costs, we get a small commission when you click some of the links in this post and proceed to sign up. This comes at no additional cost to you.
Create Account At Bluehost
Step 1: Once on Bluehost.com, select ‘WordPress‘ on the top left of page and select ‘WordPress Hosting‘

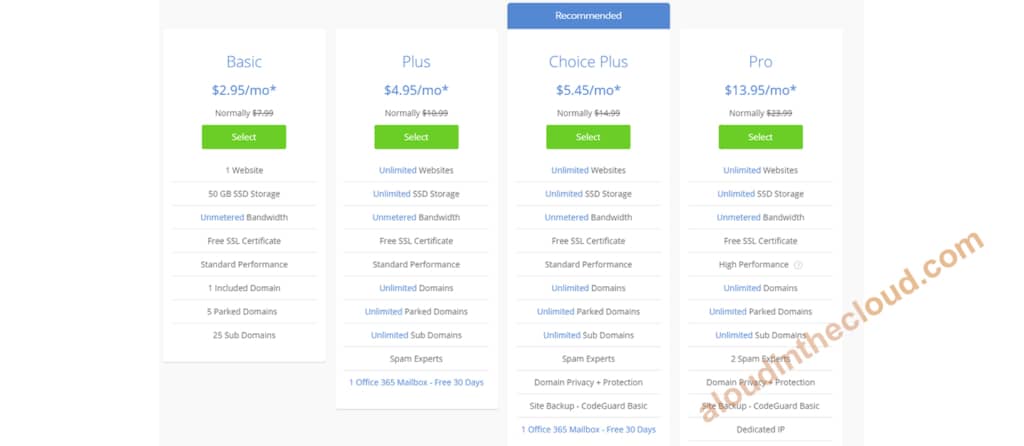
Step 2: Select the hosting plan. We will go with the Basic plan which works for our purpose. Click on the green button under Basic
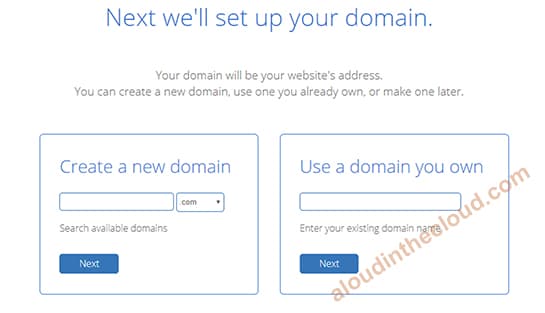
Step 3: Enter Your Name To Register
In the first box that says Create a new domain, enter the name you want to use for your resume address(eg. www.janesmith.com). Enter janesmith without the www and .com. Click next.
NOTE: If you already have a registered domain, use the second box that says Use a domain you own.
Bluehost will check if the name you want to register is available. If it is not available it will suggest other variants but you can also modify the name slightly to what you prefer.
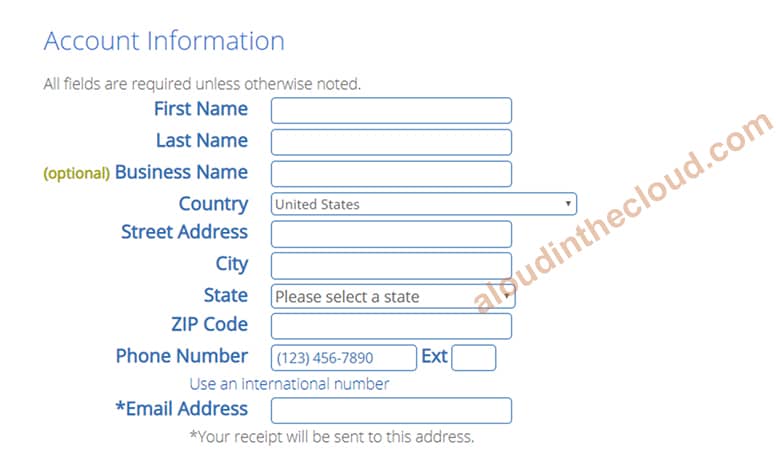
Step 4: Enter Your Details To Create Account
Enter your contact details
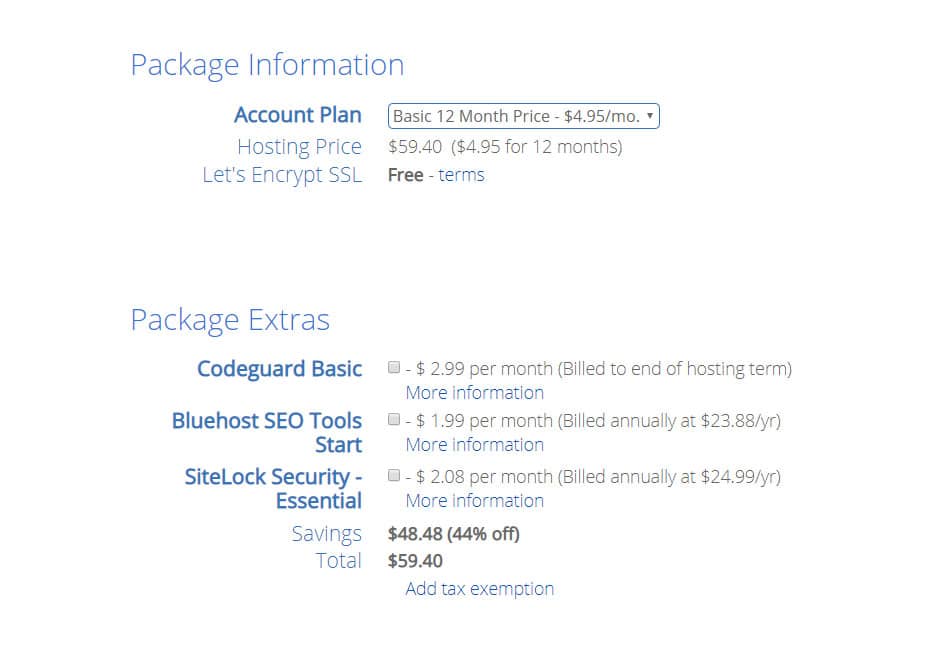
Step 5: Enter the hosting Package Information
NOTE: For the Account Plan, the cost per month gets cheaper the longer your commitment. Decide which one suits you.
Uncheck all other options under Package Extras. We will not need those.
Step 6: Enter your payment details, click Submit to complete your registration!
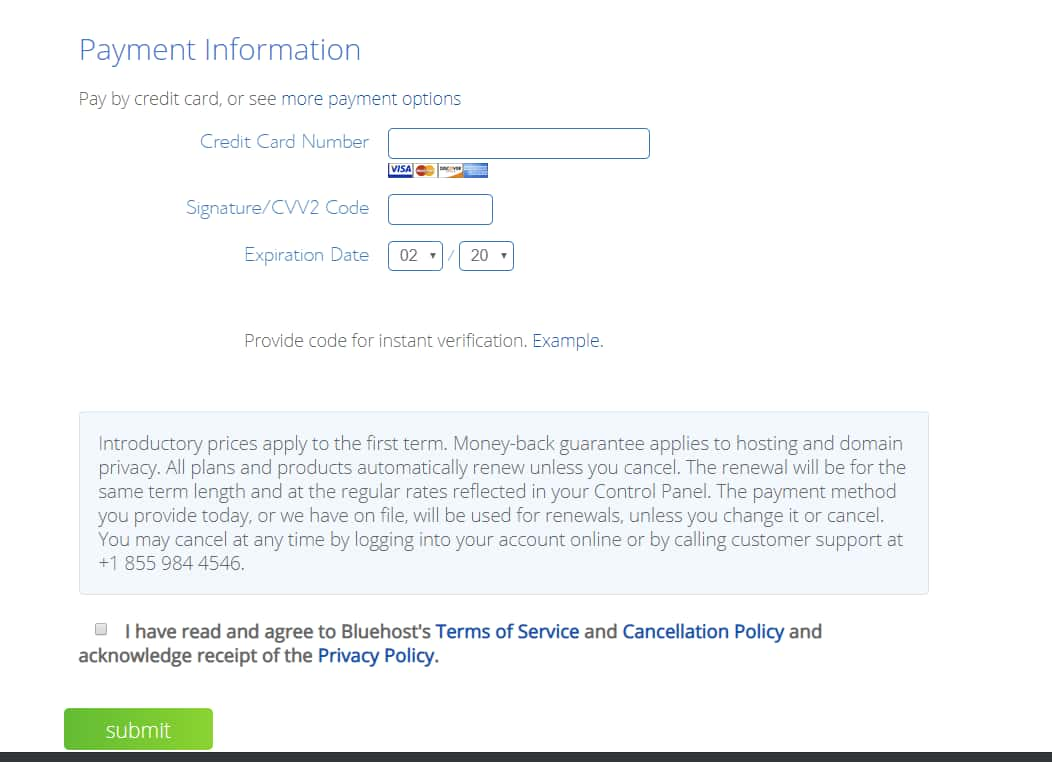
NOTE: Once you are done with this, Bluehost will proceed to install your resume platform(ie WordPress) for you!! Awesome, right?
Now that you’ve seen the steps, we’ll wait. Go register and come back here(if you’ve not already done so).
Take note of your Bluehost login details(i.e. username and password)
TIP: If you ever get stuck performing any of the following steps, the Bluehost tech support will gladly help you. They are one of the best in the business! Go to the Bluehost.com homepage, scroll down and you’ll see 24/7 Expert Support section. Click on the Chat link to get help!!!
Another bonus for being a Bluehost customer.

2. Install Resume Theme For FREE
Once you are done with your account setup, it’s time to set up your resume!
There are several FREE resume templates available: resumee, cvee, excellent, more themes here.
You can decide the one to use, but for the purposes of this guide we’ll use the ‘Resumee‘ theme.
The Resumee theme also comes with several resume templates that are available for purchase. But the FREE one we’ll use in this guide is also very good.
How To Install Resumee Theme
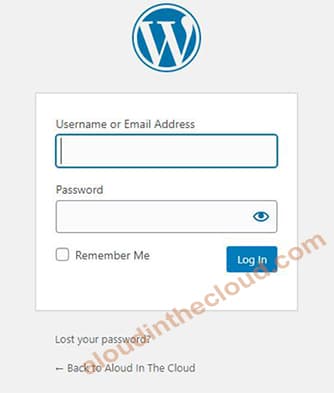
You’ll have to log into your Bluehost WordPress site to start your configurations.
The log in page of your site will be found at www.yourname.com/wp-admin (eg. janesmith.com/wp-admin)
Enter your username and password to log in. (Contact Bluehost support if you can’t remember your credentials)
NOTE: You can also log into your wordpress dashboard by logging into Bluehost(using your Bluehost credentials) then selecting your site from there.
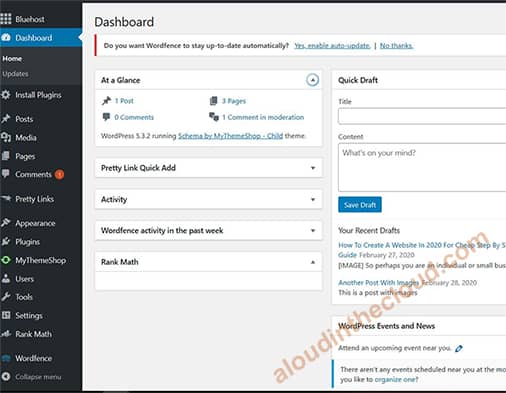
Step 1: Once you successfully log in, you’ll be taken to your site’s dashboard.
The black panel on the left is your dashboard menu. Click Bluehost (the first link at the top). Click Launch Site to activate your setup.
Hover over ‘Appearance‘ then click ‘Themes‘ to open the Themes page.
Step 2: Install Resumee theme
At the top left on the Themes page, click Add New.
In the search field(top right), type resumee. This will bring up the Resumee theme.
Move the mouse over the Resumee theme and click Install.
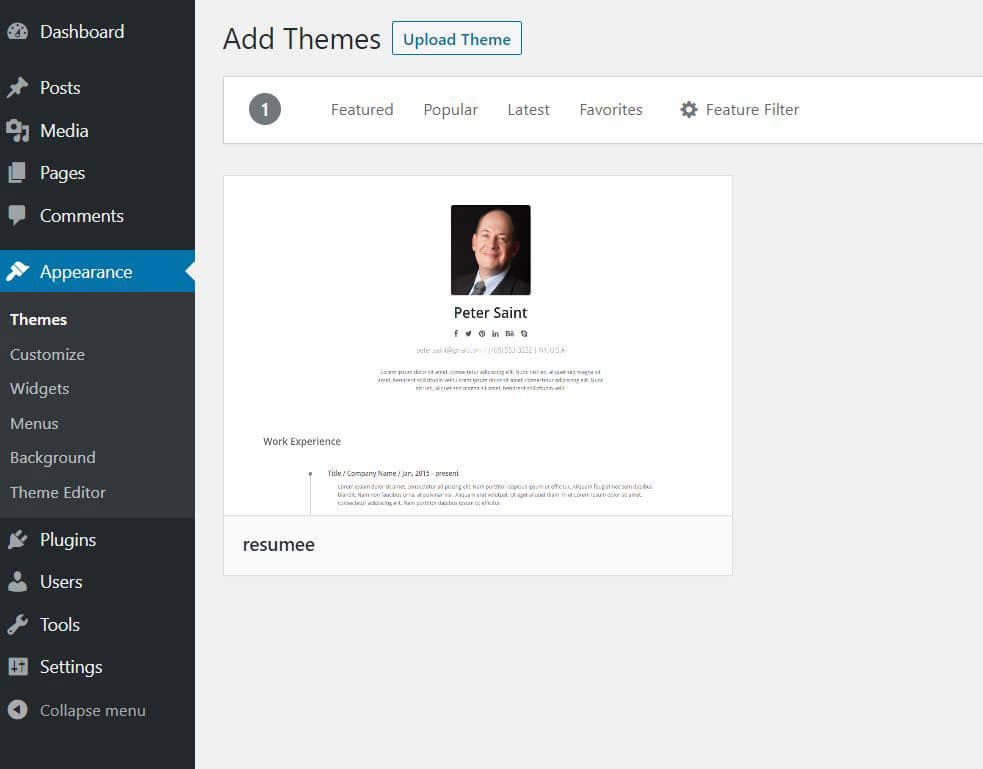
Step 3: After the installation, move the mouse over Appearance(on the left menu), click Themes
Look for the Resumee theme, move the mouse over it and click Activate.
Congrats! You’ve successfully installed the Resumee theme. Time to add the content of your resume!
Step 4: Install Classic Editor plugin
I prefer the classic content editor interface to the default block editor. So let’s install the classic editor plugin.
On the dashboard menu, under Appearance, click Plugins -> Add New
On the right search field, type classic editor.
On the search result, look for Classic Editor and click on Install Now on the Classic Editor icon.

After installation, click Activate (previously where Install Now button was) to activate the plugin.
3. Update/Populate Your Resume
We’ve completed our setup so now it’s time to add our resume details: personal details, work experience, education, skills etc.
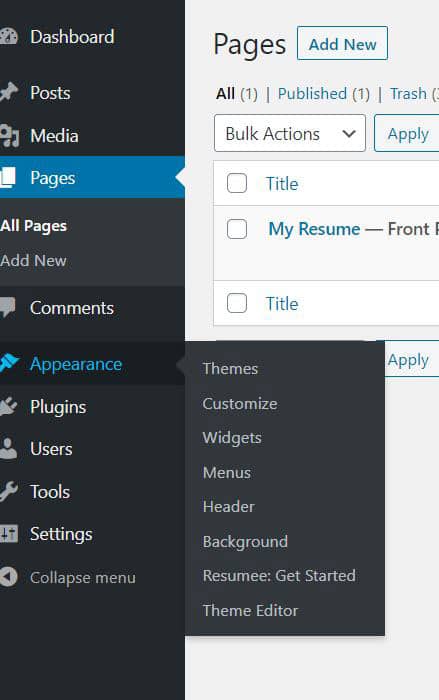
Step 1: On the left menu, click Pages. This lists the available pages. You should have one page named Sample Page. Or click Add New at the top to create a new page.
Click on Sample Page to open the Edit Page.
On the right, under Page Attributes section, select Front-Page Template under Template. This will be the page that greets anyone visiting www.yourname.com
Change the text ‘Sample Page’ to ‘My Resume’ in the top field(under Edit Page Add New)
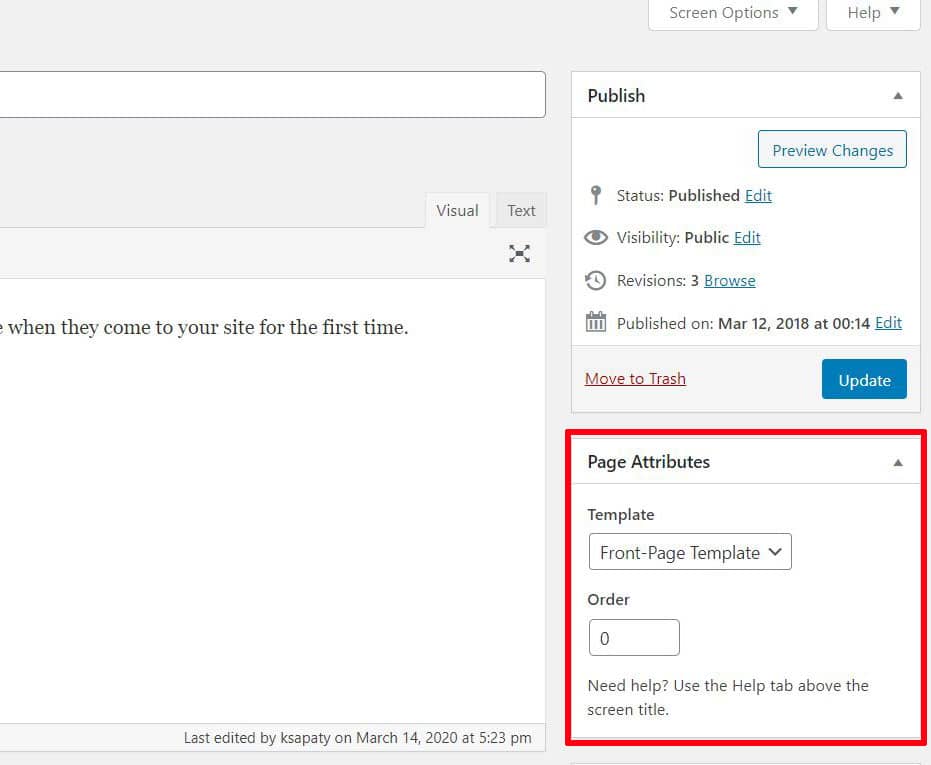
Step 2: Click Preview Changes (on top of Page Attributes). This will open to a blank page in a new browser tab. It is blank because we are yet to add our resume content. Let’s do that now.
Move the mouse over Appearance and click Widgets to open the Widgets page. The Widgets Page is where we will be adding content to the resume.
Our building blocks of the resume will be these widgets.

We’ll populate the resume by adding widgets to the Frontpage page.
There are four(4) main widget for populating the resume: Resumee Intro, Resume Skill, Resume Education and Resume Experience widgets.
Step 3: Add head shot widget to resume.
On the widget page, look for the Resumee Intro Widget(on the left), click the small arrow on the right to expand the widget, select Frontpage and click Add Widget.
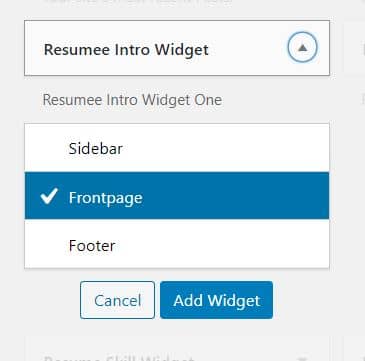
This will add the Resumee Intro Widget to the Frontpage page.
Step 4: Expand the Resumee Intro Widget under Frontpage by clicking the small arrow to the right.
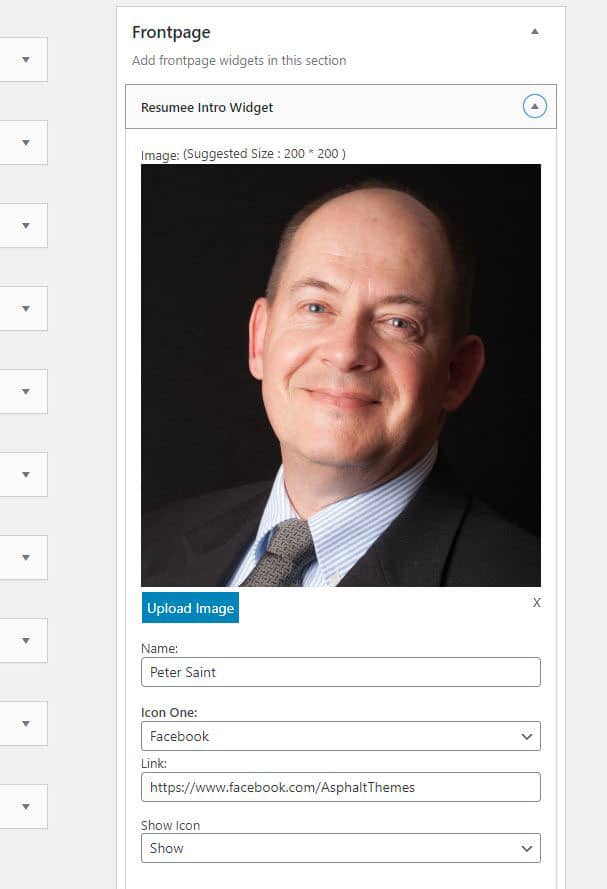
Edit the fields by adding your details.
Click on the Upload Image and upload your head shot.
Enter your name in the Name field.
Update all the Social Media fields accordingly. The ones you don’t want to display, select Hide under the Show Icon field.
Scroll to the bottom and add your email, phone and location accordingly.
Enter a brief Career Summary(or clear the field to remove it entirely).
Click Save when done.
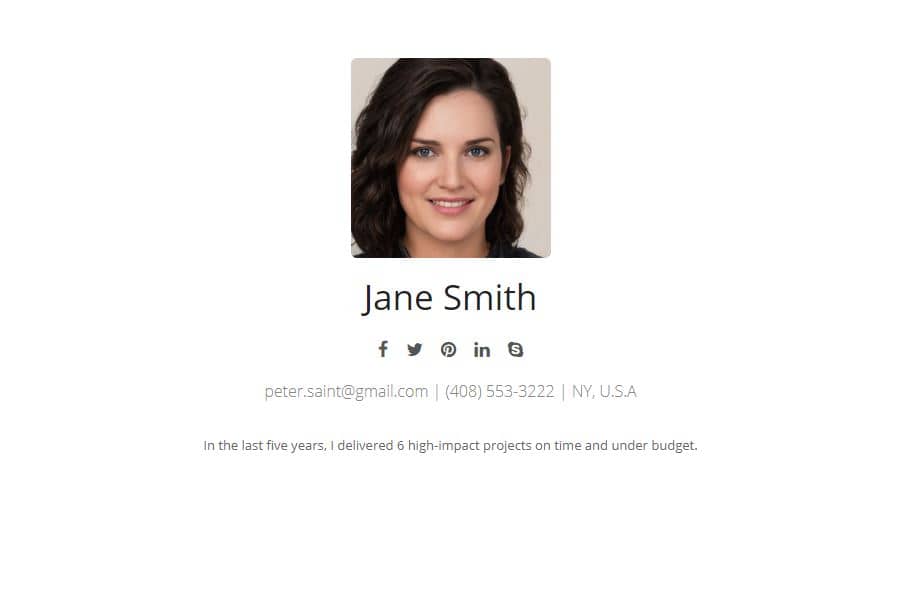
Step 5: Preview the work in progress. Take a look at the changes you’ve made so far.
Click Pages(on the dashboard menu) -> Click My Resume page.
On the right panel, click Preview Changes
Step 6: Add more resume details
Go back to Appearance -> Widgets to open the widgets page.
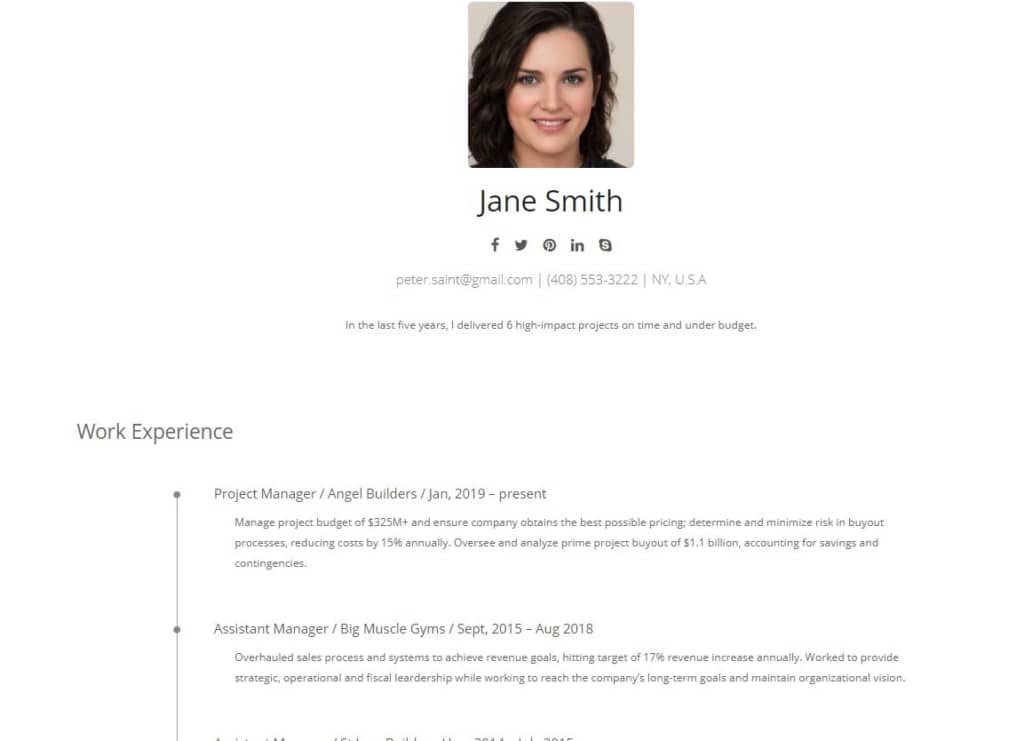
Adding work experience
Expand the Resume Experience Widget, select Frontpage and click Add Widget to add it to the Frontpage page.
The Resume Experience Widget has 5 fields in which you can add your various work experiences.
If you don’t want to add up to 5 work experience items, just clear the other extra fields.
If you want to add more work experiences, just add one more Resume Experience Widget to the Frontpage page and then in the Title field (where it says Work Experience), you can change it to Additional Work Experience
Preview these changes by clicking Pages (on the left menu) -> click My Resume page. On the right panel, click Preview Changes to view your changes.
Step 7: Add Additional resume details on the widgets page.
Add your education details
Look for Resume education widget, expand it, select Frontpage, click Add Widget to add to the Frontpage page
Populate the details, leaving out the ones you want or adding additional information. It’s all your choice!
Add your skills details
Look for Resume Skills widget, expand it, select Frontpage, click Add Widget to add to the Frontpage page
Populate the details, clearing the fields you don’t want.
Note that all the widgets placed on the Frontpage page can be rearranged by dragging them up and down accordingly.
TIP: The Resume Skills widget can be used to add arbitrary information. For example, to add Achievements section, you can use the Resume Skill widget(just add it and change the title from Skills to Achievements)
Get creative! You can also add Awards section the same way.
Preview the changes done so far.
Step 8: Add contacts in the footer
Update the contact information in the bottom right corner of the resume
Click Appearance(on the dashboard menu) -> Click Customize -> Footer -> Footer Settings
In the Footer Contact Text field, enter your address(or clear the field to leave it blank)
Once you are satisfied with your changes, while on the My Resume page(Pages->My Resume), click Publish (on the right panel near Preview Changes)
Congrats! Your resume is LIVE!. Anyone can now type www.yourname.com(eg. www.janesmith.com) and see your resume popup in all it’s glory. Your own piece of the web!
TIP: Once again, if you get stuck you can always reach out to the awesome Bluehost support or reach out to us via the information below.
Next Steps…
You can continue to edit and work on the resume content and shape it into what you want.
You can now add this resume link(i.e. www.yourname.com) to your Linkedin page, your hard copy resume on PDF or Word document etc. Stand out!
Even after landing a job, it is advisable to still maintain this living resume. Allow your competitors to poach you! Get seen.
4. Connect Resume To Google Search Console
Note that this step is optional.
Now that your resume is live, let’s inform Google about it so that you can be found via search results!
Step 1: Verify your resume page with Google
Go to Google Search Console. If you are not already logged into Google, click Start Now then log in with a Gmail account.
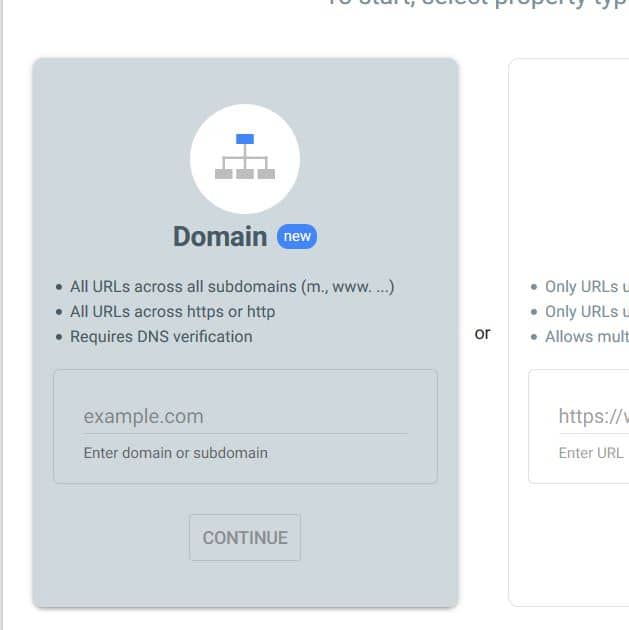
Step 2: If this is your first time and you don’t have any site set up on search console, you will be asked to enter your domain name. Use the first box that says ‘Domain‘.
Enter your domain without the www(eg. janesmith.com) and click ‘Continue’
Step 3: Retrieve the verification string from search console.
A window pops up showing the TXT record to use to verify your domain name. Click the COPY button to copy the text.
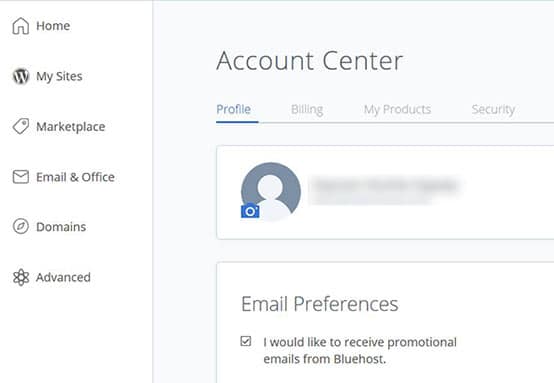
Step 4: Log into your Bluehost account using the credentials you created when you signed up with Bluehost. Once you are logged in, click on Domains on the left.
Contact Bluehost support if you don’t remember your login credentials.
Step 5: Click on ‘Manage‘ against the domain name you want to verify. This opens the domain name details page.
Step 6: Scroll down to the TXT (Text) section. Click Add Record.
Enter the value “@” in Host Record field
Paste the TXT you copied from search console into TXT* Value field(Go back to copy it from search console if you haven’t)
Leave the value in TTL untouched
Click Save***

Step 7: Go back to Search Console and click Verify. You will see a success pop-up once verification is successful.
Reach out to Bluehost support if this fails for you repeatedly. You might also have to wait for a while after entering the record on Bluehost.
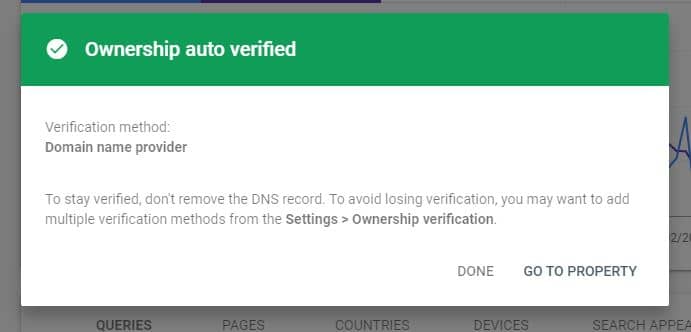
Done! You’ve verified your site with Google.
If you find this guide useful, kindly share it with your friends via email, social media so that they can also benefit.
If you need assistance with any of the following steps contact us: 
- SKS
Translations: French | Spanish | Portuguese
See also:
Comments
comments powered by Disqus